
This article assumes you already know how to create a new Laravel project with Laravel Livewire installed. If you arent’ already familiar with the same, I suggest you read this quick article first.
This post also assumes that you have already hooked your newly created Laravel Livewire project to a MySQL db and the users table have some data in it.
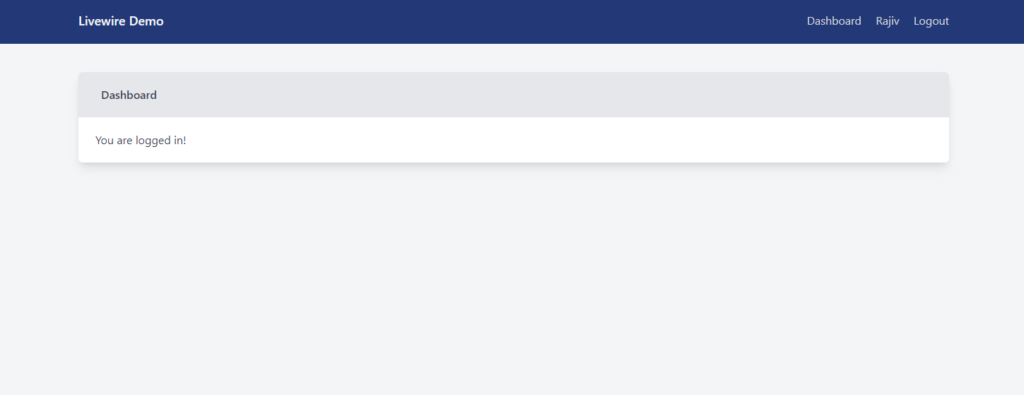
When you run your fresh Laravel app, after connecting it to the database and after logging in, you should see something like this:
Ok, so, now that we have a fresh Laravel 8.0 project to build upon our Livewire search functionality, let’s begin by creating a couple of Livewire components.
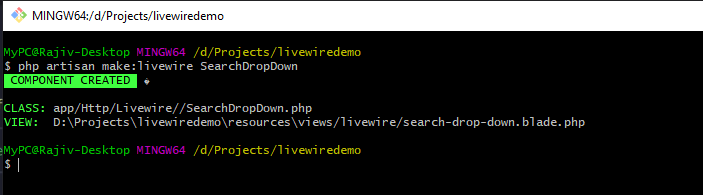
The first component that we will be creating is the SearchDropdown. In order to create the component, go to the terminal and type the following command:
php artisan make:livewire SearchDropDownIn case you come across an error such as Too few arguments to function Illuminate\Support\Str::finish(), 1 passed, dump-autoload the composer file and clear the cache. To do that, run the following commands in the terminal:
composer dump-autoload
php artisan cache:clear
php artisan config:clear
php artisan view:clear
This will create 2 files. The view file and the Component file (a lot like a Controller file) in the locations as seen in the image below:
Now, to be able to use Livewire inside our project, we have to reference the Livewire scripts and stylesheets. In order to do that, open your Views\layouts\app.blade.php, and just before the end of the </head> tag, paste the following:
@livewireStyles()Now, scroll towards the bottom of the page, and right before the closing </body> tag, place the following code:
@livewireScripts()And we are now ready to use Livewire in our project.
Designing The LiveWire Component View
The component here in our case will just be our search dropdown.
Open Views\livewire\search-drop-down.blade.php file and paste the following code inside the only <div> in the file, and save it:
<div class="relative p-2">
    <input
        type="text"
        class="form-input w-full"
        placeholder="Search Contacts..."
        wire:model="term"
    />

    <div wire:loading class="absolute w-1/3 bg-white rounded-lg shadow">
        {{-- <div class="list-item">Searching...</div> --}}
        <ul class="divide-y-2 divide-gray-100">
            <li class="p-2 hover:bg-blue-600 hover:text-blue-200 ">
                Searching...
            </li>
        </ul>
    </div>

    @if(!empty($term))
        <div class="w-1/3 bg-white rounded-lg shadow">
            @if(!empty($users))
                <ul class="divide-y-2 divide-gray-100">
                    @foreach($users as $i => $user)
                        <li class="p-2 hover:bg-blue-600 hover:text-blue-200">
                            <a
                                href="https://www.google.com"
                                class="padding-top-5 list-item {{ $highlightIndex === $i ? 'highlight' : '' }}"
                            >{{ $user['name'] }}</a>
                        </li>
                    @endforeach
                </ul>
            @else
                <div class="list-item">No results!</div>
            @endif
        </div>
    @endif
</div>
The view part of our component is ready. But if you refresh your dashboard page of the project, you will not see anything there yet. This is because we have created the component but have not yet added it to our dashboard view.
Let’s go ahead and do that then.
Open the Views\home.blade.php and look for the line where it says You are logged in!.
We will place our component below this. In order to do that, type the following:
@livewire('search-drop-down')The Livewire Component
Much like the Controller, all the logic of a Livewire component goes inside the component file. In our case, that would be the \app\Http\Livewire\SearchDropDown.php file.
<?php

namespace App\Http\Livewire;

use App\Models\User;
use Livewire\Component;

class SearchDropDown extends Component
{
    public $term;
    public $users;

    public function updatedTerm(){
        $this->users = User::where('name', 'like', '%' . $this->term . '%')
            ->get()
            ->toArray();
    }
    public function render()
    {
        return view('livewire.search-drop-down');
    }
}
Save the page and refresh and navigate to http://127.0.0.1:8000/demo.
You should see something like this now.
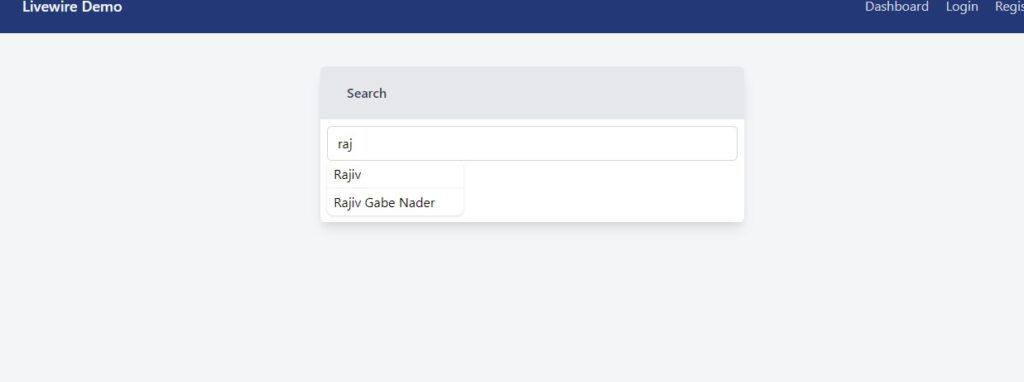
The code is very simple and self-explanatory. All the real-time magic is handled by Livewire.
That’s it! It’s that simple.
Feel free to download a slightly updated version of this project from GitHub, if you want to.
**At the time of deployment, I, somehow, faced this error Provider Class not found In ProviderRepository.php line 208. If you too come across and see that composer dump-autoload does not work, you can try the following commands:
composer install --optimize-autoloader --no-dev

php artisan config:cache

php artisan cache:clear

3 thoughts on “How To Create Search Functionality using Laravel Livewire?”
Pingback: Create New Laravel 8.0 Project With TailwindCSS and LiveWire - Rajiv Verma
Pingback: How To Create A Repeater Form Using Livewire? - Rajiv Verma
Pingback: [SOLVED] Livewire Installed But Laravel Livewire Not Rendering - Rajiv Verma