I have already written one post, if not two, about how to create a new Laravel Project but things and preferences in the Laravel world, change fast. So, here I am, writing yet another one around the same topic. However, the significant difference this time is that this post will cover How to create a New Laravel Project with TailwindCSS and LiveWire,
And since I have almost never been able to get TailwindCSS up and running smoothly on a new Laravel project and have always had some problem with Laravel Mix, I will cover that as well.
Let’s begin.
How To Create New Laravel Project with TailwindCSS (including auth ui) and LiveWire
- Create New Laravel Project
- Load tailwindcss presets
- Install tailwincss auth ui
- Remove laravel mix
- Install laravel mix
- Install cross-env
- run npm dev
- Install Livewire
- Run Project
Create Laravel New Project
Let’s start with creating a new Laravel 8. x project by using the command below:
laravel new laravel-tailwindcss-livewire
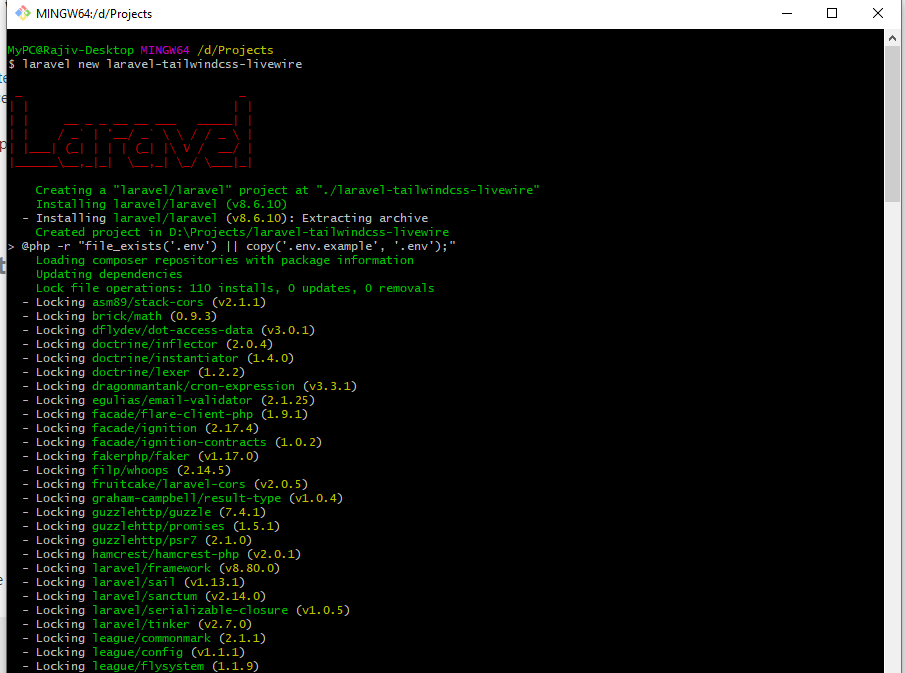
Once the project is created, cd to that directory. To do that in our case, we will do the following:
cd laravel-tailwindcss-livewireLoad TailwindCSS Presets
Now that the we are inside our project directory, we will pull-in the TaiwindCSS presets using the command below:
composer require laravel-frontend-presets/tailwindcss --dev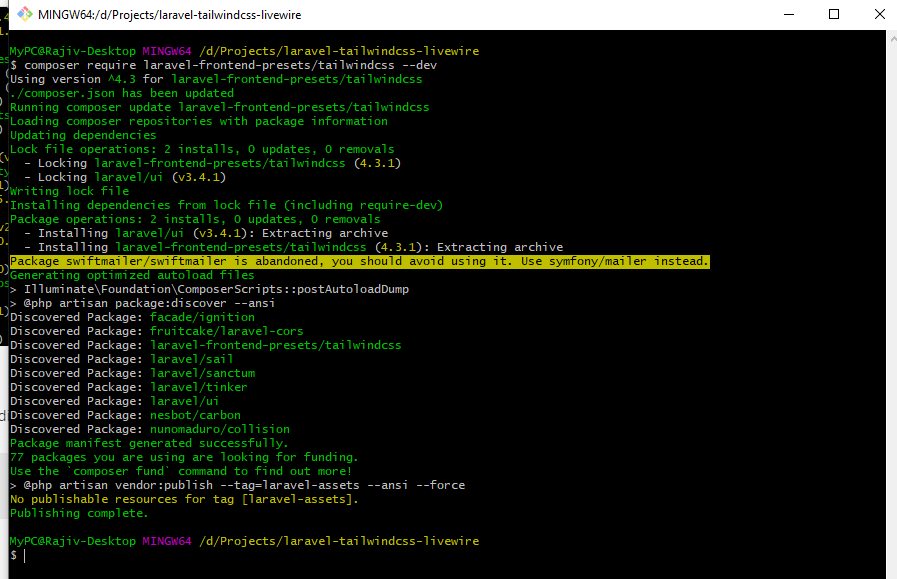
Install TailwindCSS Auth UI
Since we also want the auth UI to be in place, we will pull in tailwindcss version of the same using the command below:
php artisan ui tailwindcss --authRemove Laravel Mix
Now, this is not supposed to be a required step but since I was never able to get Laravel mix working with tailwindcss the way it is supposed to work, I use this approach which works for me. If in your case, mix works great with tailwindcss without removing it first, before installing it back again, you can skip this step and the next one.
So, to remove laravel mix from our project, we do the following:
npm remove laravel-mix
Install Laravel Mix
Weird but, now we have to install Laravel Mix back again by doing the following:
npm install laravel-mix --save-devInstall cross-env
Install the cross-env package using the command below:
npm install cross-env --save-dev
Compile Resources
With all the above done, it’s finally turn to compile the CSS and scripts by running:
npm run dev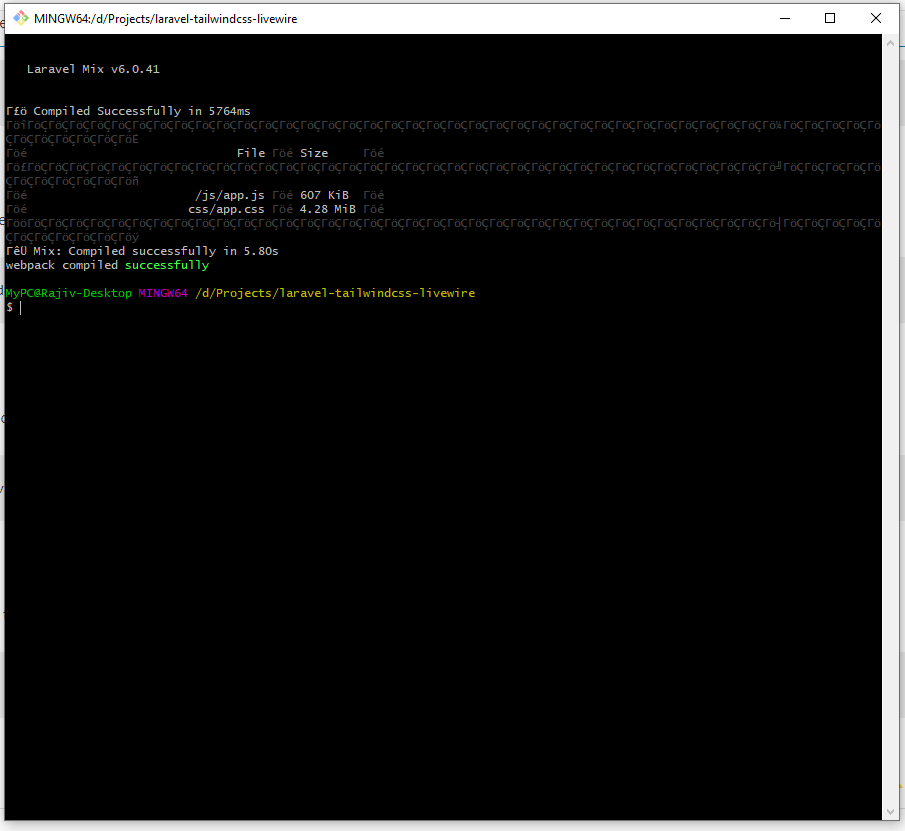
At this point, the project is ready to be run. To do the same, run the below command:
php artisan serveOnce the server fires up, open the website on your browser by typing http://127.0.0.1:8000

Install Livewire
Last but not the least, let’s install Livewire in our project. To do so, use the following command:
composer require livewire/livewireLivewire is now ready to be used in the project.
I will do another quick post soon to show how See how we can use Livewire inside this Laravel Project to create a Smart Search bar using Livewire.


11 thoughts on “Create New Laravel 8.0 Project With TailwindCSS and LiveWire”
Pingback: How To Create A New Laravel 8 Project via Terminal?
Pingback: How To Insert Fake Data Into Table Using Laravel Factory? - Rajiv Verma
Pingback: How To Make A Sentiment Analyzer in PHP, In Under 10 minutes? - Rajiv Verma
Pingback: How To Make A Sentiment Analyzer In PHP, In Below 10 Minutes? - Abu Sayed
Pingback: How To Make A Sentiment Analyzer In PHP, In Under 10 Minutes? - The web development company Lzo Media - Senior Backend Developer
Pingback: How To Make A Sentiment Analyzer In PHP, In Under 10 Minutes? - DEV Community
Pingback: How To Create a Responsive Grid Layout Using TailwindCSS? - Rajiv Verma
Pingback: How To Create a New Laravel Project with Laravel Breeze Starter Kit? - Rajiv Verma
Pingback: How to install PuTTY on MacBook Air M1?
Pingback: How To Create Search Functionality using Laravel Livewire? - Rajiv Verma
Pingback: How To Create A Repeater Form Using Livewire? - Rajiv Verma