Importing, uploading, and processing data from Spreadsheets is something you cannot avoid if you are a developer. The good thing, however, is the fact that importing and reading data from spreadsheets is quite straightforward using Laravel.
The steps involved in uploading an Excel sheet using a Laravel app and storing the data in a useful way. For our example, we will assume the following:
- We will know the structure of the spreadsheet (Number and names of columns)
- Have a database created with a table with corresponding columns as in the spreadsheet
- Import Cyberduck laravel-excel package
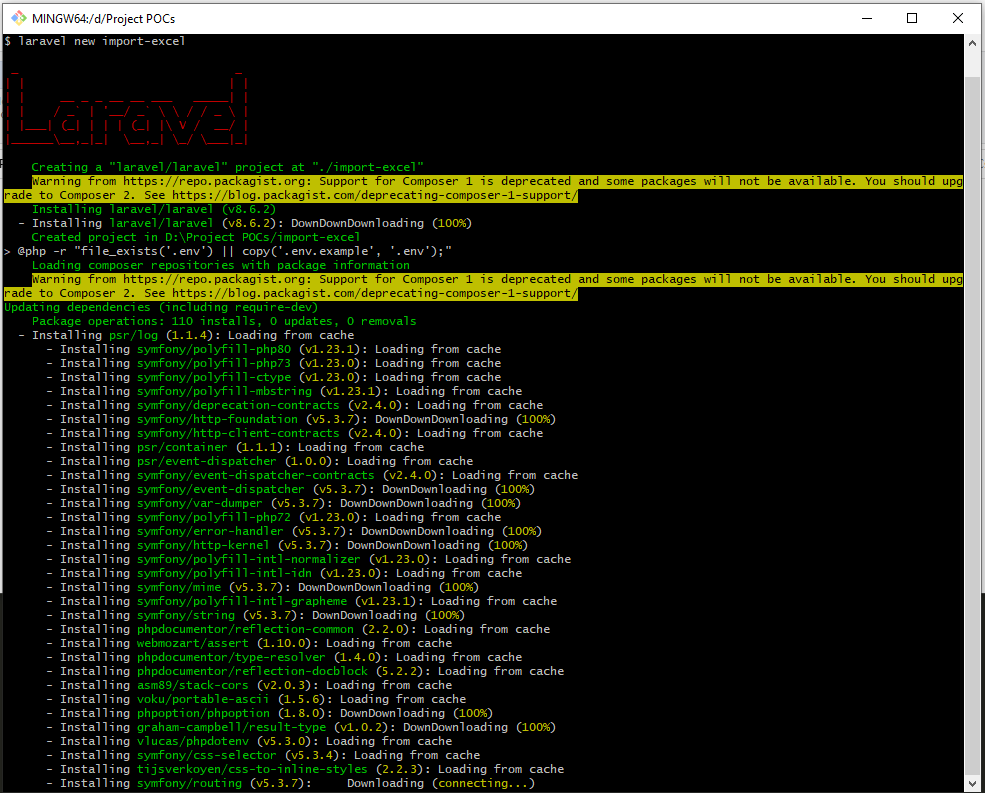
To begin with, we will create a new Laravel Project. If you don’t already know How To Create a New Laravel project, check this out first.
Next, we will create a table via Laravel migrations. For our example, we will go with a table with 3 columns. The migration would look something like how it is mentioned below:
Schema::create('excel_data', function (Blueprint $table) {
$table->id();
$table->string('name');
$table->string('email');
$table->string('active');
$table->timestamps();
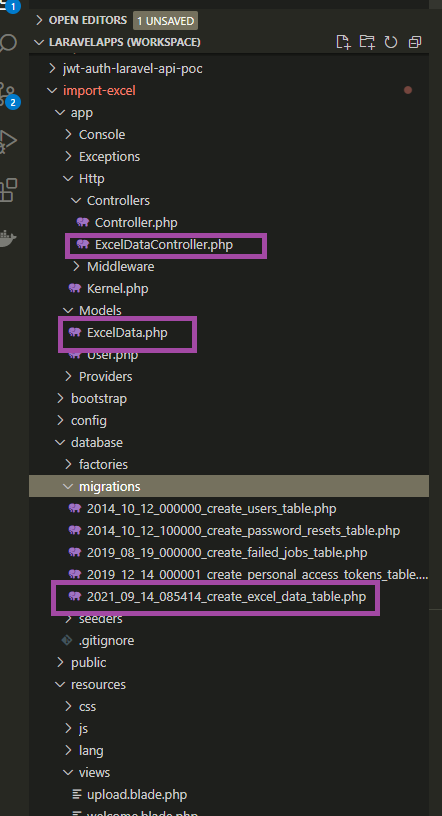
});Along with the migration, we will also create the Model and a Controller using the following command:
php artisan make:model ExcelData -mcr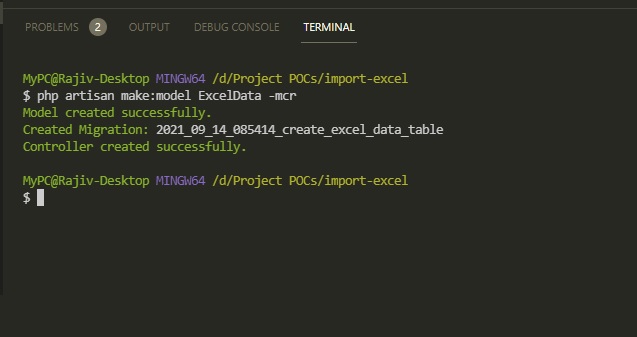
The above is assuming you already have created an empty database and have linked it up to your Laravel application via the .env file.
Next, we will need a view to show the file upload control via which, an Excel sheet can be uploaded for processing. Create a file named upload.blade.php, in the \resources\views folder.
The code in the view file would look like this:
<!DOCTYPE html>
<html lang="en">
<head>
<meta charset="UTF-8">
<meta name="viewport" content="width=device-width, initial-scale=1.0">
<meta http-equiv="X-UA-Compatible" content="ie=edge">
<title>Upload Excel File</title>
</head>
<body>
<h2>Upload Excel File</h2>
<form action="{{route('upload')}}" method="post" enctype="multipart/form-data">
@csrf
<input type="file" name="file_xls" id="file_xls">
<br/><br/>
<button type="submit">Upload File</button>
<br/>
<br/>
<p class="data" name="datacontainer">
</p>
</form>
<br/><br/>
@if(isset($errors))
@if(count($errors) >0 )
@foreach($errors->all() as $error)
<div class="alert alert-danger alert-dismissable">
<button type="button" class="close" data-dismiss="alert" aria-label="Close">
<span aria-hidden="true">×</span>
</button>
{{$error}}
</div>
@endforeach
@endif
@endif
@if(session('success'))
<div class="alert alert-success alert-dismissable">
<button type="button" class="close" data-dismiss="alert" aria-label="Close">
<span aria-hidden="true">×</span>
</button>
{{session('success')}}
</div>
@endif
@if(session('error'))
<div class="alert alert-error alert-dismissable">
<button type="button" class="close" data-dismiss="alert" aria-label="Close">
<span aria-hidden="true">×</span>
</button>
{{session('error')}}
</div>
@endif
</body>
</html>
Once this is done, add a couple of routes to the \routes\web.php files. The routes are given below:
Route::get('upload', [App\Http\Controllers\ExcelDataController::class, 'create'])->name('upload_page');
Route::post('upload', [App\Http\Controllers\ExcelDataController::class, 'store'])->name('upload');
The first one shows the view you created and the second one handles the actual uploading of the Excel file.
As a good practice, always run the following command after you make any changes in the routes file.
php artisan route:cache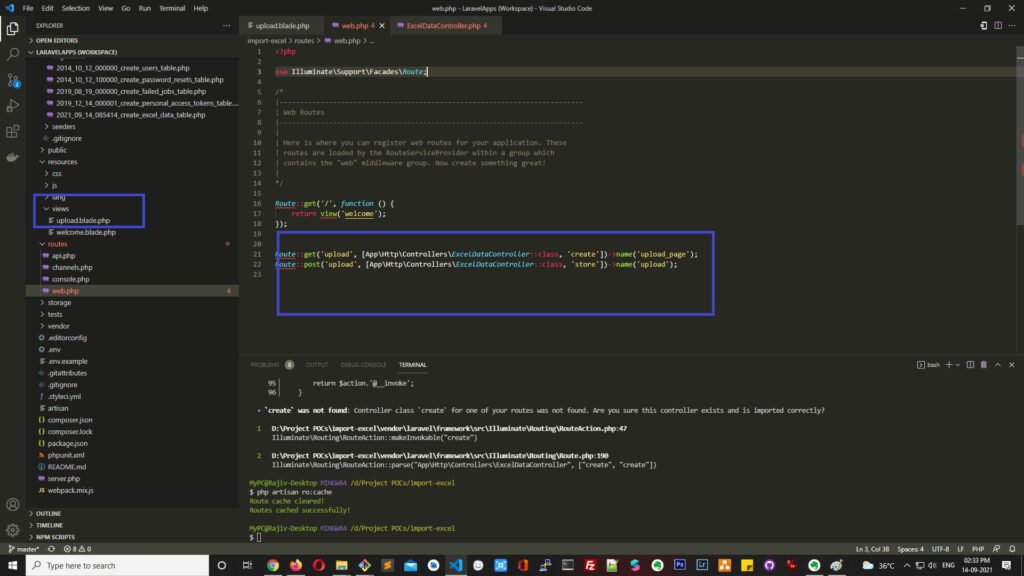
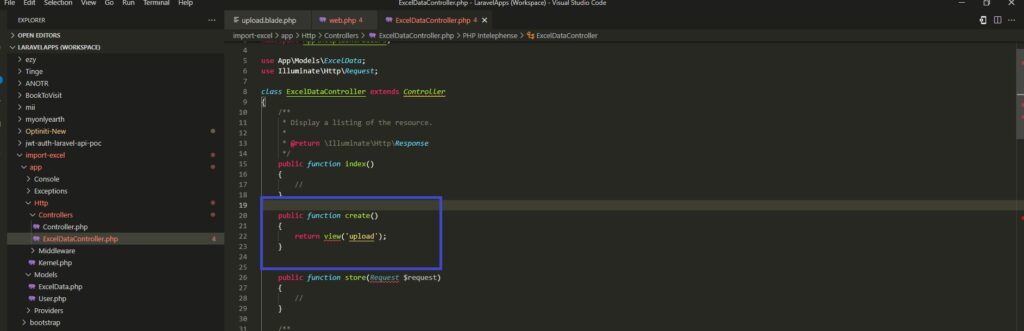
Next, let’s patch it up with the controller file. Go to \App\Controllers\ExcelDataController.php and create a public function called create, if it’s not there already. The function should look like the code given below:
public function create()
    {
        return view('upload');
    }
Next, in order to be able to interact with an Excel file via Laravel, we will need a third-party package, cyber-duck/laravel-excel.. In order to add that package to your project, go to the terminal, and from inside your project’s root folder, run the following command:
composer require cyber-duck/laravel-excel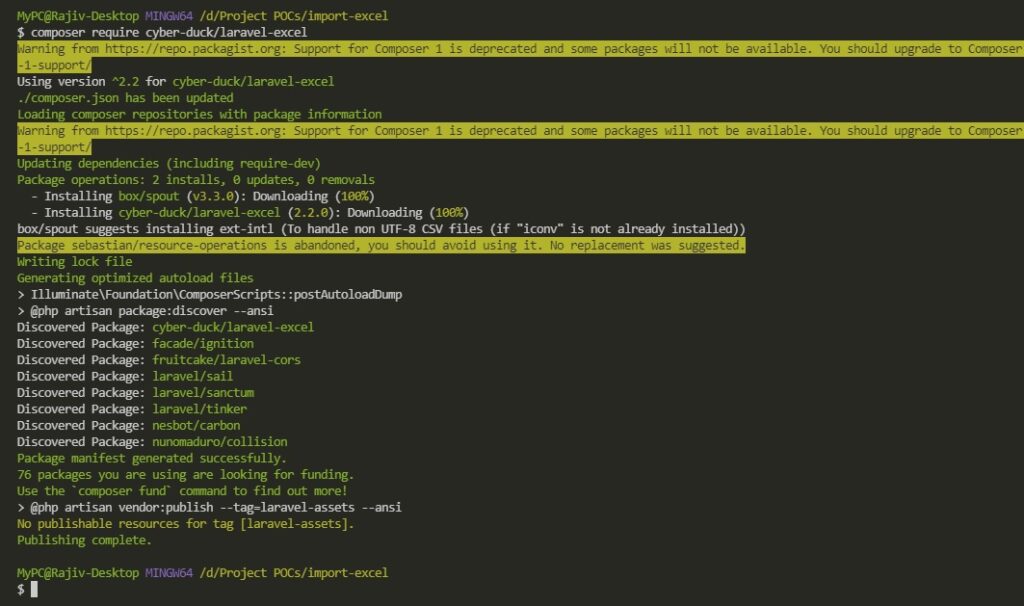
Now, let’s again go back to the controller file and this time around, see how to implement the file upload and the data insertion into the database.
public function store(Request $request)
    {
        $validator                      =   Validator::make($request->all(), [
            'file_xls'                      => ['required', 'max:2000', 'mimes:xls,xlsx'],
        ]);

        if($validator->fails()){
            return redirect()->back()->withErrors($validator)->withInput();
        }

        if(request('file_xls')){
            $bannerFileNameWithExtension        = request('file_xls')->getClientOriginalName();
            $fileNameToStore                    = date('Ymd_His') . '_' . $bannerFileNameWithExtension;
            $path                               = request('file_xls')->storeAs('public/uploads', $fileNameToStore);

            /// Accessing the uploaded excel file
            try{
                $excelFileToProcess                 = Importer::make('Excel');
                $excelFileToProcess->load('storage/uploads/'.$fileNameToStore);     //Check your projects file structure, you will find your uploaded files here

                $tempCollection                     = $excelFileToProcess->getCollection();

                /// Our test excel file has 4 columns. If number of columns do not match, we know data in not in expected format and so, we do not proceed
                if(sizeof($tempCollection[1]) == 4){        /// Sikkping row 0 as it is the heading in the sheet
                    for($row=1; $row<sizeof($tempCollection); $row++){
                        dump($tempCollection[$row]);
                    }
                    dd('data');
                }
                else{
                    return redirect()->back()->with(['error'=>'Data not in expected format.']);
                }

            }
            catch(\Exception $ex){
                return redirect()->back()->with(['error'=>$ex->getMessage()]);
            }


        }
        return redirect()->back()->with(['success'=>'File uploaded successfully!']);
    }
You will also have to use the following imports at the top of the document:
use Importer;
use App\Models\ExcelData;
The code here validates if the Excel sheet being uploaded is less than 2 MB. You can use a different value if you want to. Then, it reads the data from the Excel sheet and dumps it on the screen. You can easily update the code in the store method and make it push the data into the database.
That’s about it! Nothing fancy.
If you want to download the complete project and dissect it, you can do so from here.


3 thoughts on “How To Import Data From Excel (XLS, XLSX) Files in Laravel?”
Pingback: How To Integrate Shiprocket in Laravel Web Application | Shiprocket API
Pingback: How To Insert Fake Data Into Table Using Laravel Factory? - Rajiv Verma
Pingback: Fixing "curl error 60: SSL Certificate Problem" in Laravel on Windows