
As part of an eCommerce project that I was working on for a client, a while back, I had to implement Shiprocket integration on our laravel eCommerce website.
I did a little bit of digging around Shiprocket’s API and I figured it was actually a pretty simple thing to do.
So, let’s see how to go about it.
How to integrate ShipRocket API in a Laravel eCommerce website
To begin with, let me tell you that I am using Laravel for this project. If you do not know how to create a new Laravel project from scratch, I suggest you first go through this post.
I will summarise all the steps needed to use the shiprocket and integrate it on an eCommerce website, below:
- Create a Shiprocket account.
- Create an API user on Shiprocket
- Make an API call to Shiprocket using your ShipRocket developer credentials and get your auth token.
- Use this token to make further requests to Shiprocket such as create a new shiprocket order dynamically from your website.
Now let’s go through these steps to create a new order using Shipocket API, in detail.
Create shiprocket account
In a real-time scenario, your client will have one already. Or if they are new to shiprocket, *they* should be creating their account.
The account creation process is pretty simple.
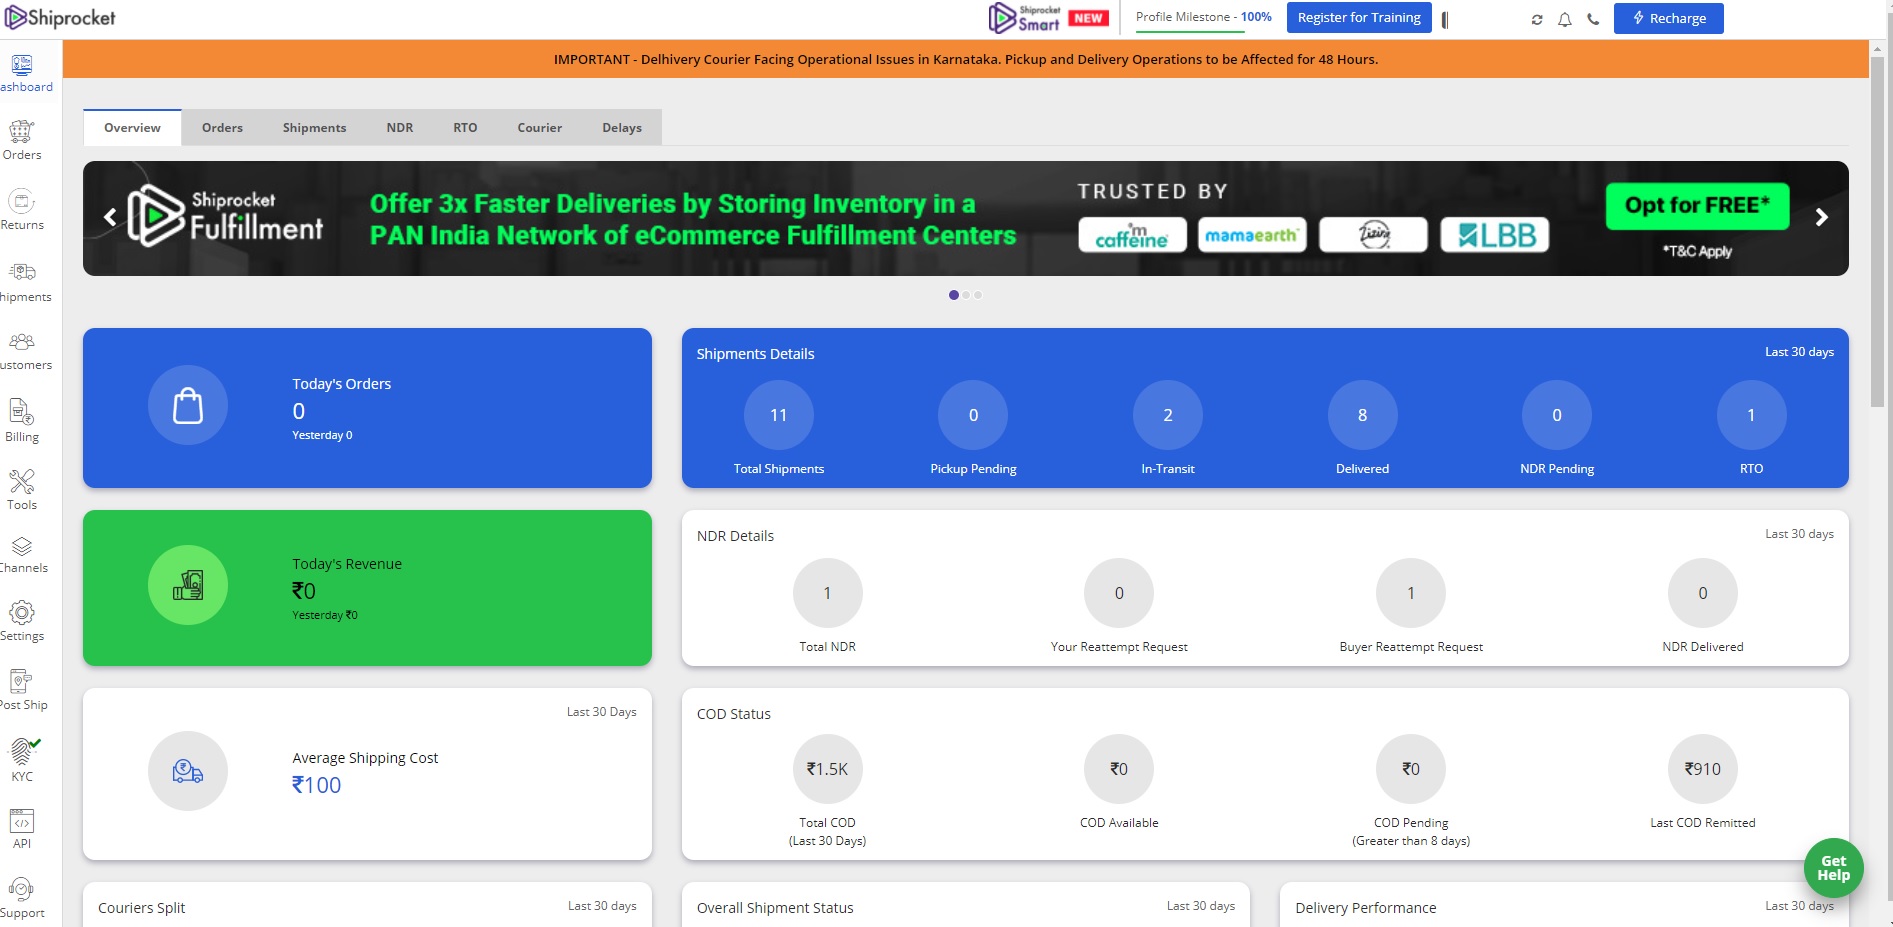 Shiprocket Dashboard after Login
Create developer account
Once you have logged in to the shiprocket account in question, you will have to create a developer account. This is the account that will be used to connect and talk to Shiprocket and create, cancel and track shiprocket orders from within your website.
You can register an API User account by clicking here.
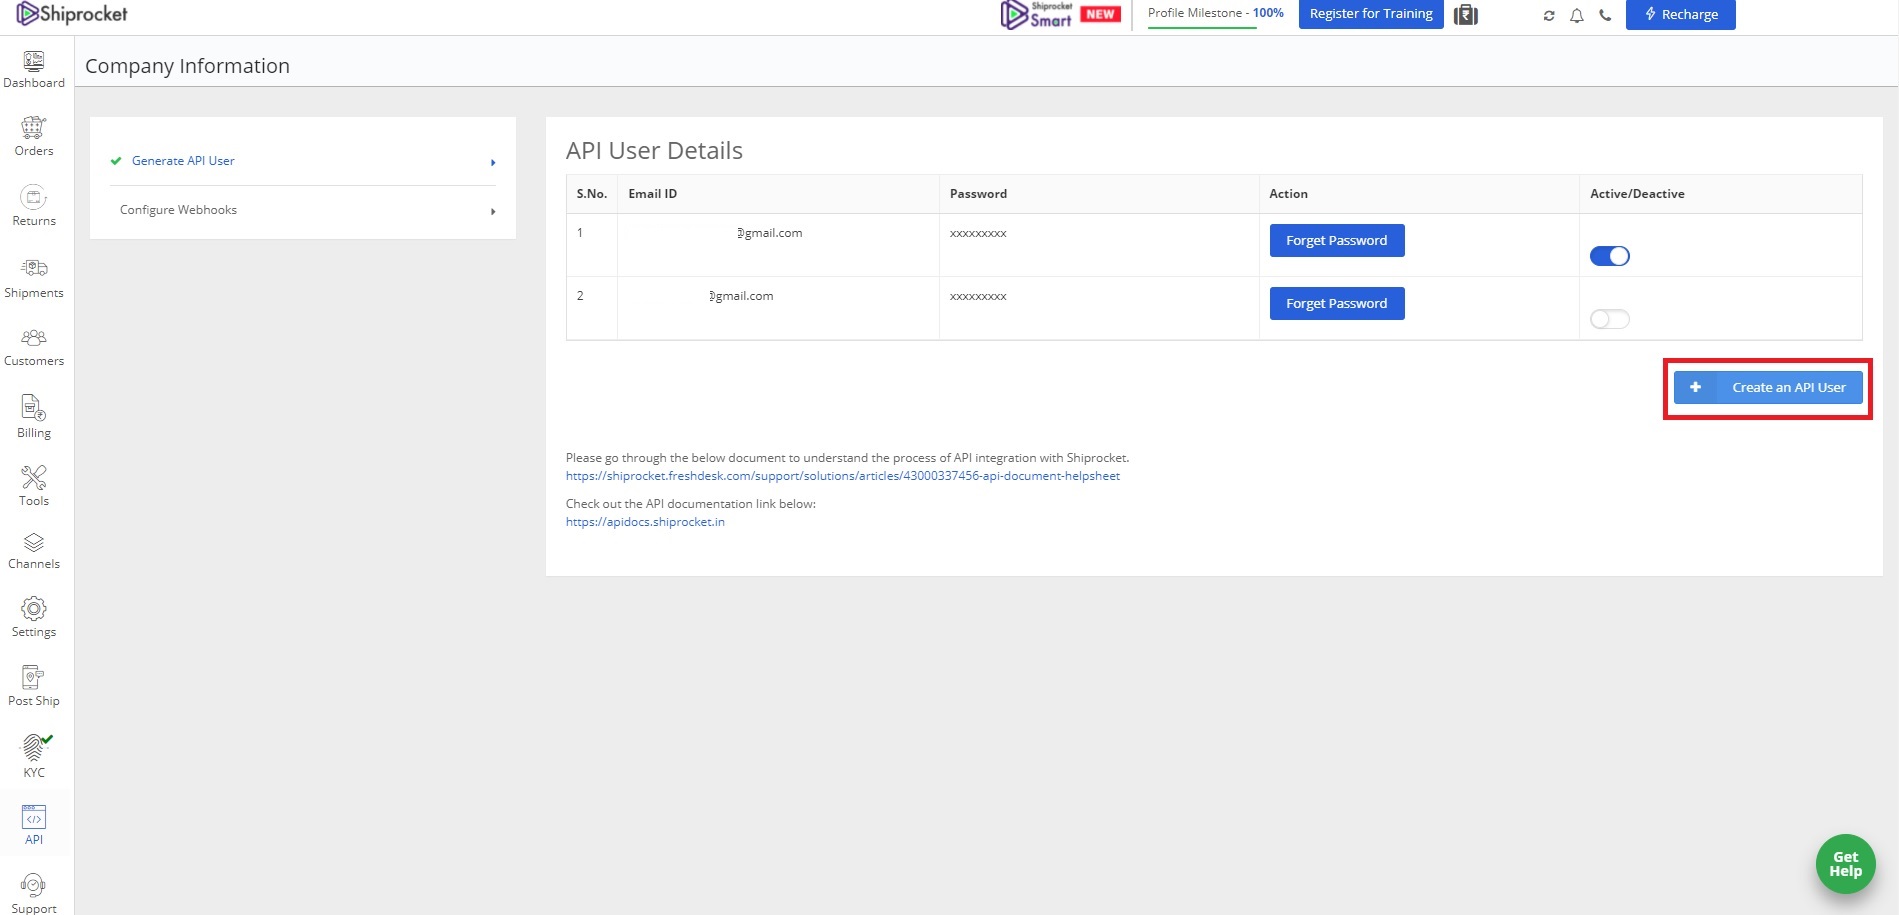 Create API User on Shiprocket
This login details will be used to connect to Shiprocket servers from within your Laravel web application.
Make an API call to Shiprocket using developer credentials.
In order to talk to the Shiprocket API from within our Laravel application, the first thing that we will need is the access token, by making a request to the shiprocket API.In Laravel, we use GuzzleHttp to make our HTTP requests to the API. If you want to know more about HttpGuzzle, have a look here. However, for this quick tutorial on setting up Shiprocket with a laravel website, I will keep it simple.
Just follow the instructions, you should be fine. Get Shiprocket Token from the API
// Get ShipRocket token

    function getToken(){

        $shiprocketEmailId      =   config('mii-shiprocket.shiprocket_email');

        $shiprocketPassword     =   config('mii-shiprocket.shiprocket_pwd');

        // Some test code here. Some more test here

        if(ShipRocket::all()->last() == null){

                        $response = Http::post('https://apiv2.shiprocket.in/v1/external/auth/login', [

                'header' => 'Content-Type: application/json',

                'email' => $shiprocketEmailId,

                'password' => $shiprocketPassword,

            ]);

            $token  =   $response->json()['token'];


            // Save record into the table

            $shiprocketToken                =   new ShipRocket();

            $shiprocketToken->token         =   $token;

            $shiprocketToken->save();

        }

        else{

            $timeNow            =   Carbon::now(new \DateTimeZone('Asia/Kolkata'));

            $lastTokenTime      =   Carbon::parse(ShipRocket::all()->last()->updated_at->jsonSerialize())->timezone('Asia/Kolkata')->format('Y-m-d H:i:s');


            $hoursDifference    =   $timeNow->diffInHours($lastTokenTime);


            $token              =   null;


            if($hoursDifference > 23){

                // Create new token if token more than a day old

                $response = Http::post('https://apiv2.shiprocket.in/v1/external/auth/login', [

                    'header' => 'Content-Type: application/json',

                    'email' => $shiprocketEmailId,

                    'password' => $shiprocketPassword,

                ]);

                $token  =   $response->json()['token'];

                // Save record into the table

                $shiprocketToken                =   new ShipRocket();

                $shiprocketToken->token         =   $token;

                $shiprocketToken->save();

            }

            else{

                // Get current token

                $token      =   ShipRocket::all()->last()->token;

            }

        }

        return $token;

    }
Make an API call to create a new order on Shiprocket from your eCommerce website
However, before making an API call, always check if the current is older than 24 hours. (Now we know why I asked you to also save the current time while saving the auth token, in the DB).
If the last token is older than 24 hours or more, you will need to create a new token before making an API call to shiprocket.
    //// Create Shiprocket consignment
    public function CreateNewOrder($order, $length, $breadth, $height, $weight, $newOrderStatus){
        $thisToken              =   getToken();
        $orderItemsHtml         =   array();                    // Array required.
        $vendorPickupLocation   =   'Default Loc';


		// Products of all vendors. Admin view
		foreach ($order->products as $product) {
			$record = [];
			$tempSKU                    =   $product->product_sku;
			$tempQty                    =   $product->quantity;

			$record['name']             =   $product->product_name;
			$record['sku']              =   $tempSKU;
			$record['units']            =   $tempQty;
			$record['selling_price']    =   $product->sale_price;

			$orderItemsHtml[] = $record;
		}

        try{
            if(isset($order) && !empty($orderItemsHtml)){
                $client             =   new \GuzzleHttp\Client();
                $paymentMethod  =   "prepaid";
                if($order->order_payment_method == "COD Payment"){
                    $paymentMethod  =   "cod";
                }

                $response           =   $client->post('https://apiv2.shiprocket.in/v1/external/orders/create/adhoc',[
                    "headers"=>[
                        "Authorization"=>"Bearer " .$thisToken,
                    ],
                    'form_params'=>[
                        "order_id"              => "$generatedOrderIDWithVendorIdentifier",
                        "order_date"            =>  "$order->created_at",
                        "pickup_location"       => "$vendorPickupLocation",
                        "channel_id"            => "",
                        "comment"               => "Order created from order list page",
                        "billing_customer_name" => "$order->billing_first_name",
                        "billing_last_name"     => "$order->billing_last_name",
                        "billing_address"       => "$order->billing_address1",
                        "billing_address_2"     => "$order->billing_address2",
                        "billing_city"          => "$order->billing_town_city",
                        "billing_pincode"       => "$order->billing_pin_code",
                        "billing_state"         => "$order->billing_state",
                        "billing_country"       => "$order->billing_country",
                        "billing_email"         => "$order->billing_email",
                        "billing_phone"         => "$order->billing_mobile_number",
                        "shipping_is_billing"   => false,
                        "shipping_customer_name"=> "$order->shipping_first_name",
                        "shipping_last_name"    => "$order->shipping_last_name",
                        "shipping_address"      => "$order->shipping_address1",
                        "shipping_address_2"    => "$order->shipping_address2",
                        "shipping_city"         => "$order->shipping_town_city",
                        "shipping_pincode"      => "$order->shipping_pin_code",
                        "shipping_country"      => "$order->shipping_country",
                        "shipping_state"        => "$order->shipping_state",
                        "shipping_email"        => "$order->shipping_email",
                        "shipping_phone"        => "$order->shipping_mobile_number",
                        "order_items"           => $orderItemsHtml,
                        "payment_method"        => $paymentMethod,
                        "shipping_charges"      => "$order->order_shipping_value",
                        "sub_total"             =>  $vendorOrderSubTotal > 0 ? "$vendorOrderSubTotal" : "$order->order_sub_total",
                        "total_discount"        => "$order->discount_amount",
                        "length"                => "$length",
                        "breadth"               => "$breadth",
                        "height"                => "$height",
                        "weight"                => "$weight"
                    ],
                ]);

                $shiprocketResponse                     =   json_decode($response->getBody(), true);


                if($shiprocketResponse['shipment_id'] == null){
                    return redirect()->back()->with('error', 'Looks like you do not have your pickup address in place. Please get in touch with Admin to get this sorted!');
                }

            }
            else{
                return redirect()->route('orders')->with('success','No items!');
            }
        }
        catch (\GuzzleHttp\Exception\RequestException $e) {
            if ($e->hasResponse()) {
                $response = $e->getResponse();
                if($response->getStatusCode() == 422){
                    return redirect()->back()->with('error', $response->getStatusCode()
                    . ' - ' . 'Invalid characters in product SKU. Shipping failed!');
                }
            }
        }
    }
If successfully run, the block above will create a new order under the Shiprocket account. You can verify the same by going to your Shiprocket dashboard and navigating to Orders.
I will probably write more about implementing other features such as canceling, Downloading labels, Generating AWBs & Requesting pickups, that one can do via the API in my subsequent posts.


1 thought on “Laravel – Shiprocket Integration – How to dynamically create a new order on Shiprocket via API in PHP?”
Pingback: How To Add New Contact To MailChimp via API? - Rajiv Verma