Getting a new VueJs application is a pretty straightforward process. There are multiple ways to create a New VueJS application out of which, we will create a new VueJS app via the VueJS CLI. The reason for going with this approach is the fact that this process is quite simple yet flexible in setting up the entire VueJs web application within minutes.
For this approach, we will need to have the following installed:
- Node
- yarn
Prerequisites for Creating a New VueJS Application For The First Time
If you don’t already have node installed, download and install it first, from the official link, here. After Node is installed, run the following command to verify a successful installation.
npm --version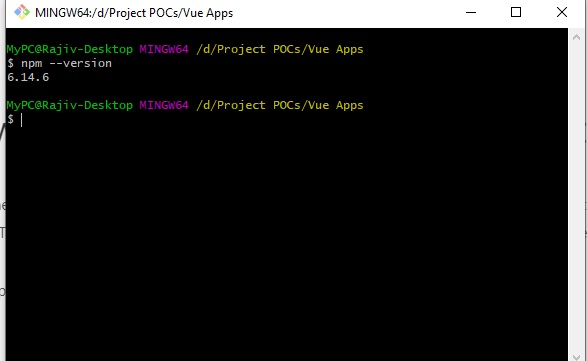
Next, you will need to install yarn. You can install the same using the following command:
npm install -G yarn
This approach sometimes gives the following error:
bash: yarn: command not foundA quick workaround to this problem is, that I run the following code instead of updating the $PATH, on a Mac.
brew install yarnOnce installed, create a new folder for your project and cd into that directory. In my example above, I had already created a new folder and was running the terminal inside that folder.
You can now proceed to install the VueJs CLI using the command below:
yarn global add @vue/cli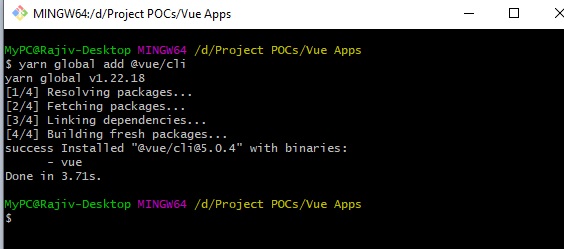
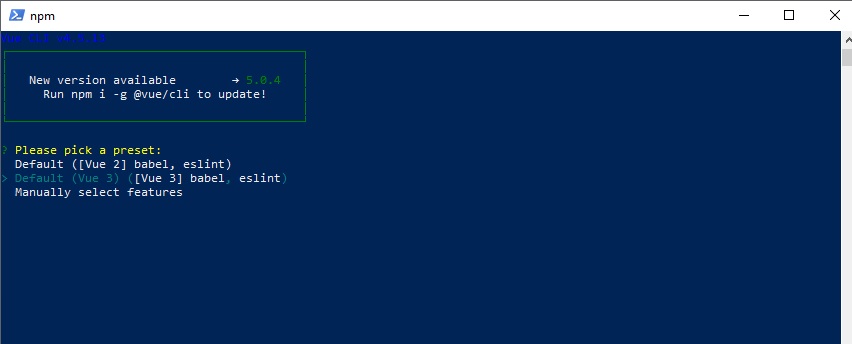
At this point, we are ready to create our project folder. Let’s do that by running the following command:
vue create testappNow, when you run this command on the terminal, you will be prompted to choose between certain options that you will have to switch between by using the arrow keys on your keyboard. For some reason, my favorite terminal on windows, GitBash has trouble handling this. So, from here on, for the sake of this project, I am switching to Powershell. So, don’t get confused seeing a different terminal in the screenshots below.
If you are Mac, you should be fine
After a while, you should see something like the screen below, confirming that our new VueJS project has been successfully created.
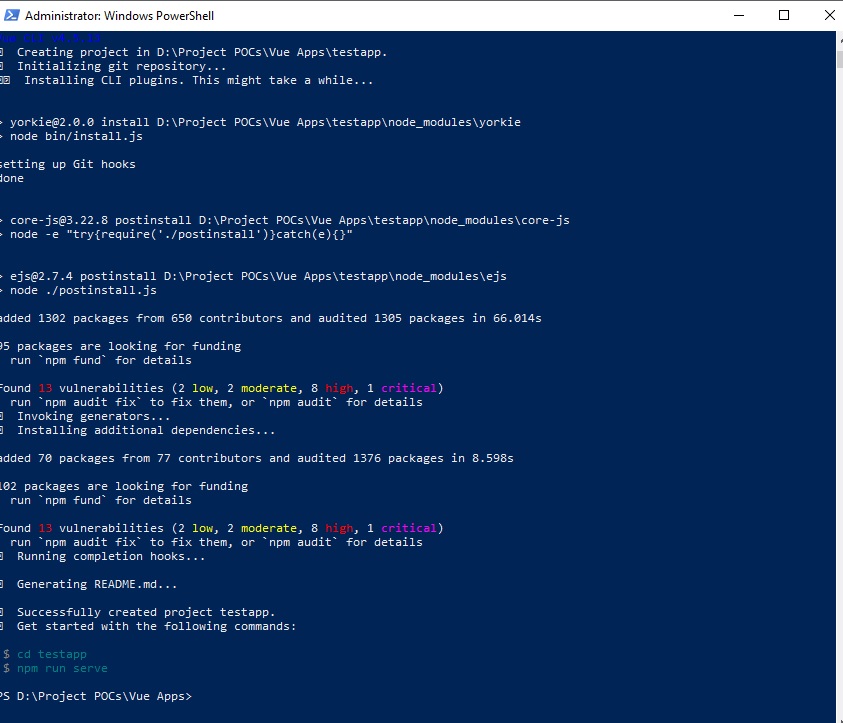
Now it’s time to run it in the browser.
To be able to do that, you have to cd inside our testapp project folder and then run one of the two following commands:
yarn serve

or

npm run serve
This should give you 2 URLs for you to use in your browser to be able to access the app.
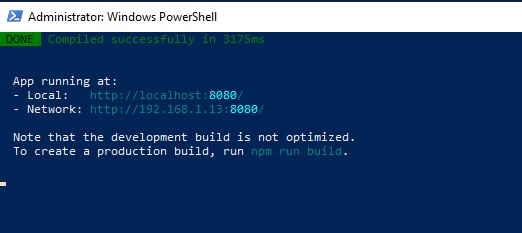
In the browser, this is what your newly created VueJs Application should look like.
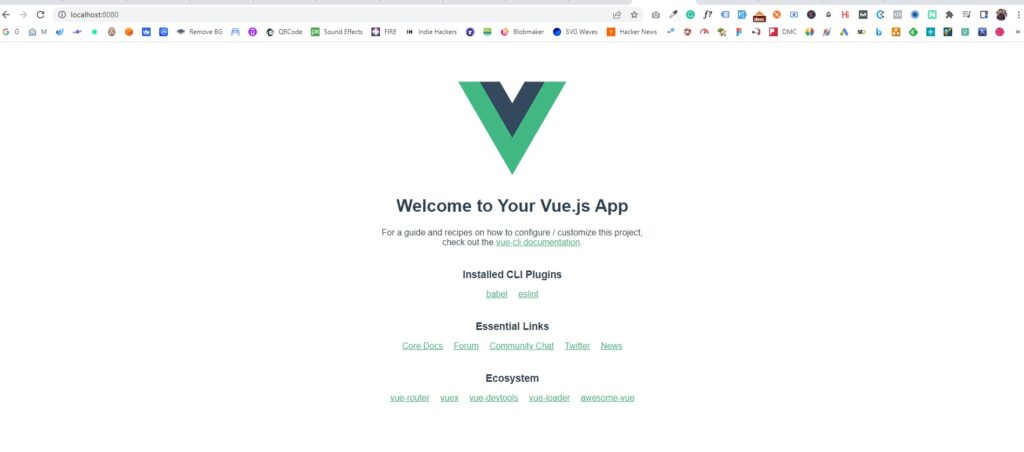
There!
While there’s nothing really unique in this app that you can’t yourself create within minutes, by following the tutorials, you can always download this vanilla VusJS project from the GitHub repo, here.